Posted by Shaik Ahmed Ali on December 09, 2020 in 19c installation | No comments
Hello Everyone,
In this article, I will describe step by step method to install oracle 19c on CentOS 7 64-bit.
Steps overview:
- Install Oracle 19c Pre-requisite RPM
- Download and Install the 19c oracle binaries
- Create the database using DBCA
Let us start the practical:
1) Installing the 19c Pre-requisite:

2) Download and Install the 19c Oracle binaries:
now download the Oracle 19c zip file from the Oracle website HERE
Create the directory for 19c ORACLE_HOME where we will extract the zip file after downloading as below

Let's install the binaries go to the 19c home and run ./runInstaller as below and follow the SS.

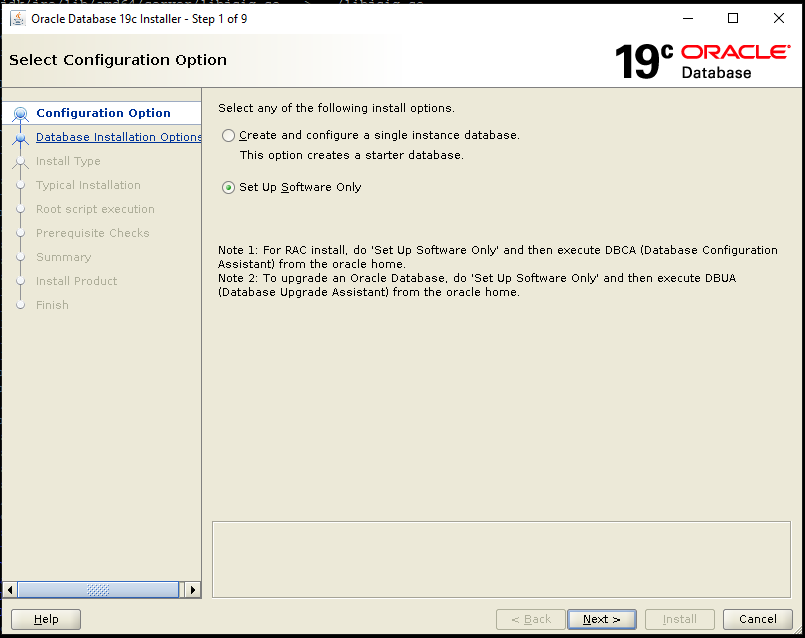


In the above screen if you want to run the root.sh manually uncheck the box and click next and in the below SS I will also attach how to run manually


Now click on install


Above SS I have attached for the reference to run the root.sh manually after you run the root.sh, click on ok and then binaries will get installed successfully.
3) Creating the database using DBCA:
After the successful installation of 19c binaries export the environment as below and run the DCBA.

Select create a database and click next

Select Typical and provide the details for DB Name,admin password
or
Select Advanced Configuration if you want to set up manually the SGA and PGA, passwords for the different admin account, and many more


Click Finish and it will start the database creation


Created the database successfully using DBCA
Connect to the newly created 19c database

Yes, we have connected to the newly created database and it's running.


0 comments:
Post a Comment