Hi in this blog I will demonstrate step by step procedure to set up the Dataguard in 19c using an Active data guard without backup.
Let's start the preparation:
My Environment:
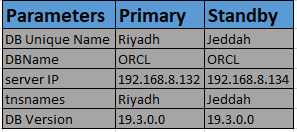
On Primary Side:
first, let's Check the Archive log enable or not

It enables and now checks the force logging is enabled or not:

Now I have also enabled the force logging as shown in the above screen
Adding the standby redo log files(SRL)

Now, setup the data guard parameter on the primary side:


Adding the tns entry and listener file


My tnsnames.ora looks like as above and tnsping result below

Creating the Password file and pfile for standby in the primary

Let's copy the password file,tnsnames. ora and pfile to the standby database.

On the Standby Side
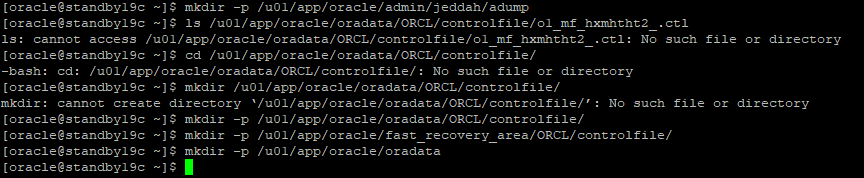
After copying the files to the standby let's edit the pfile and create the required directory for the instance to start.

As per the above SS, we have created the directory structure now move the other two file which is tnsnames. ora and password file to there location

Now let's start the standby database in nomount using the pfile we edited.

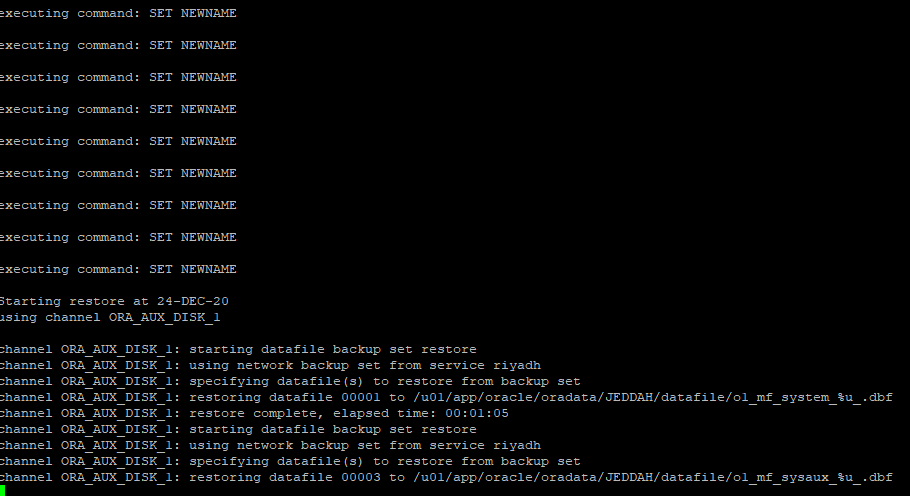
Connect to RMAN and start duplicating the database using the below command:
duplicate target database for standby from active database nofilenamecheck;


Yes we have finished the duplication and now start the Managed recovery process(MRP) to start the redo apply, let's check it

and now enable the parameter "log_archive_dest_state_2" in the primary and move the logfiles.
yes, it's applying now perform the archive log switch and check if it's applying or not .


It's applying the redo logs and the data guard is sync using SQL Apply.
Thank you for reading and feedback appreciated.